Photo processing à la rotbrain - 24/11/24
Well, now that I've remembered that making blog posts normally doesn't feel like putting my soul on display for everyone to gawk at, and that
my backlog of potential topics has been piling up, I may or may not start uploading more frequently in the weeks to come! XuX
Like I said in my last post, I made some interesting discoveries while processing photos, and I thought it'd be a good idea to share how I
do that.
Let's start at the source, taking pictures.
I'm using an Android smartphone to take these photos with OpenCamera, it supports manual focus and can
take photos up to 4000x3000 pixels.
There is essentially only one image format you can save in: .jpg. You can save in png, but it's actually just a 100% quality jpg image
converted to png. There's also webp, but who cares about webp :/
This is why I now take pictures in 4000x3000 and then down-scale them to 640x480, or else I'll get some absolutely thicc and crunchy
compresison.
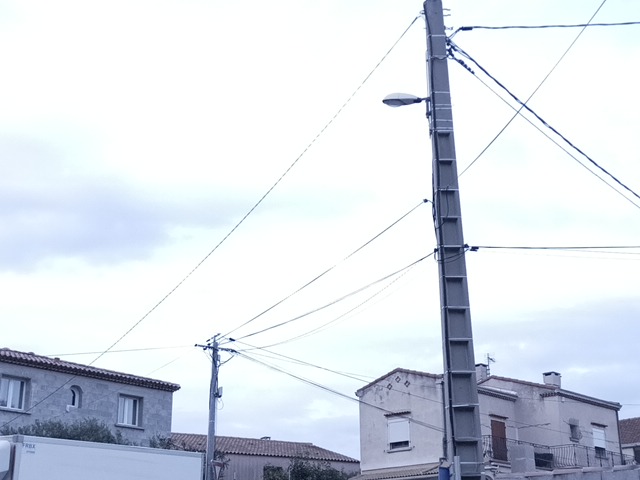
Don't notice it? Here, let me apply edge detection.
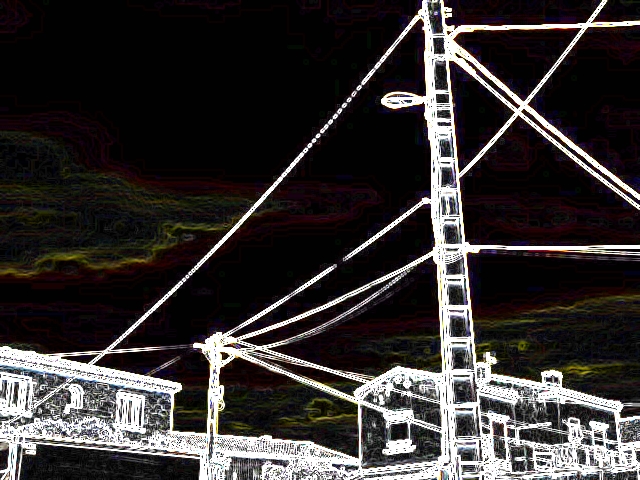
Yuck. °~°
Important thing to keep in mind, the photo must not be too blurry, noisy and/or dense, or else it's gonna be really hard to figure out
what it is.
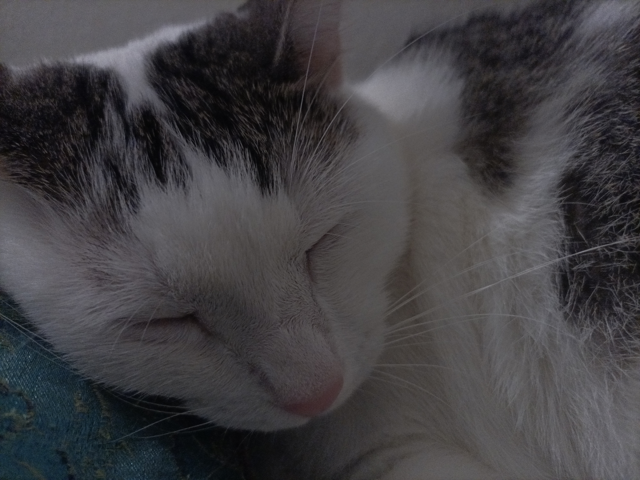
I'll be using this picture of my cat :)
I'll be using Krita, it's more for painting than photo-editing, but it's what I've used for years now, and it's
what I'm used to.
For the actual processing itself, I'll be describing both the method I've used up until last post, then the method I just discovered.
The old method
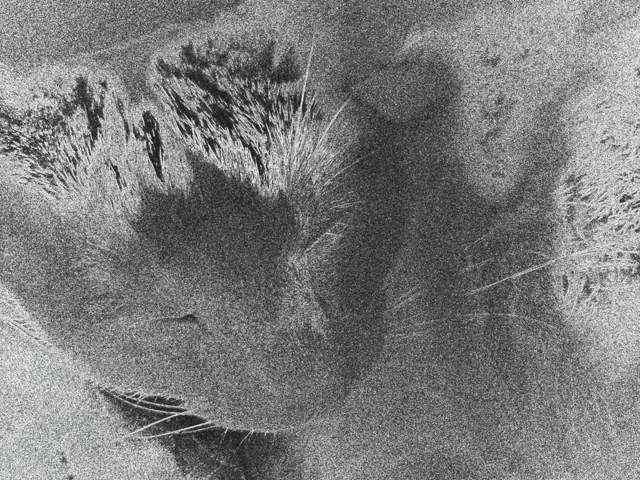
The first step is to apply some Edge Detection. I don't mess around with the settings (because I have no clue what they mean).
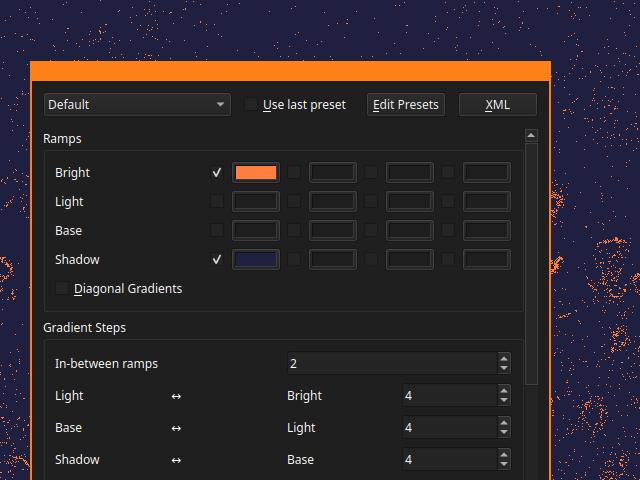
The next step is the most essential, Index Colors. This is what I use to make the images match the site's color scheme.
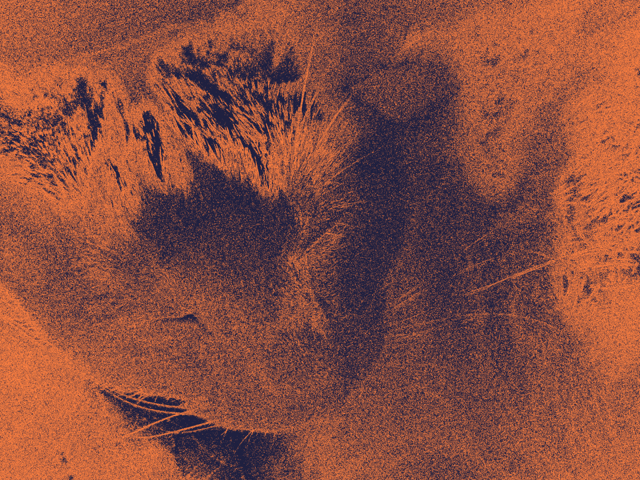
I think you can see the drawback with this technique, it doesn't fare too well with pictures that don't feature hard-edges (duh) or that
feature lots of textures, which is why most photos featured on this site have been taken indoors (and also because I don't go out much but
shhhh...).
Which is what drove me to find a better way to do this.
The new method
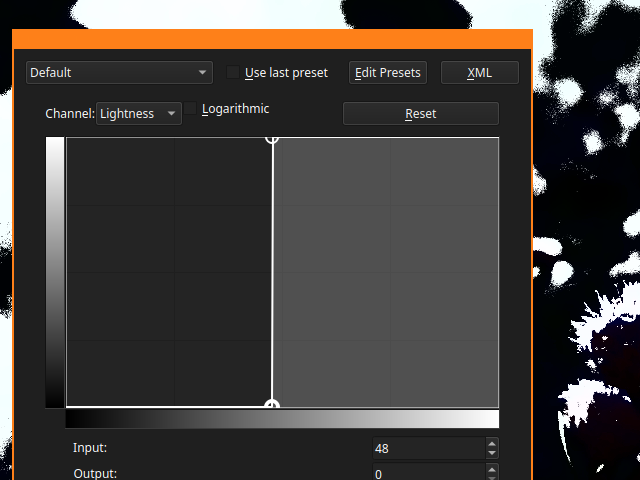
Instead of using Edge Detection, I fiddle with Lightness in Color Adjustment curves, I adjust the curve into a straight vertical line that I move back-and-forth until I think the contrast looks good.
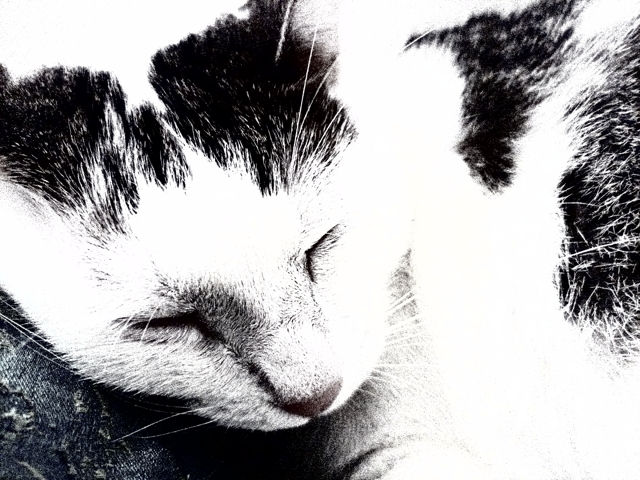
And then I apply Index Colors in the same way.
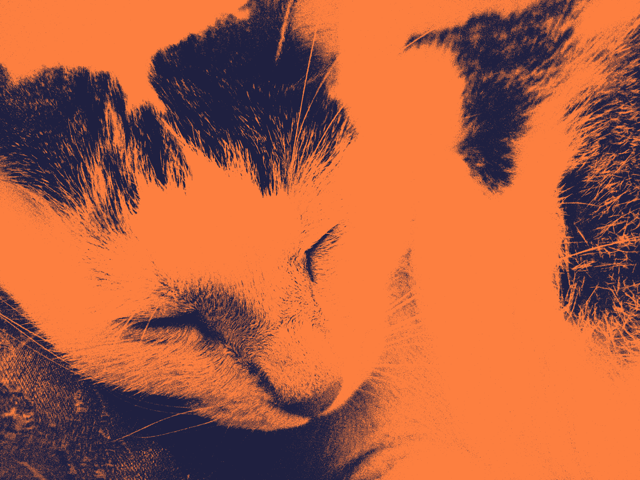
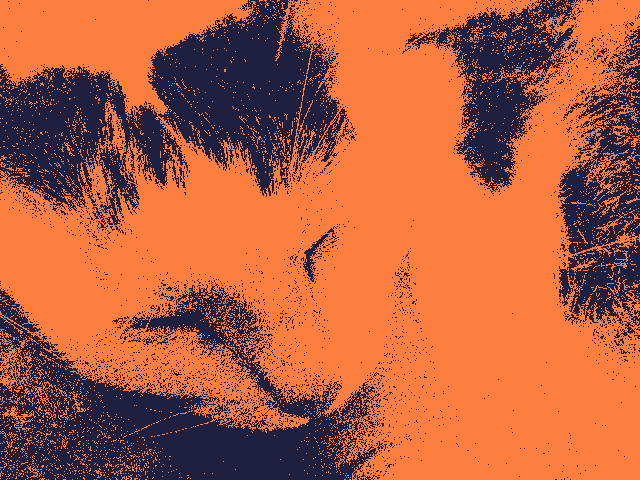
Now you may have been thinking that the image was looking kinda blurry, and that's because I didn't do the most important thing in
downscaling, which is choosing the proper filtering setting: Nearest Neighbor. It gives the image a crisp and raw quality that I
personally prefer.
Although Bicubic filtering doesn't look that bad either, depends on what you're going for, I suppose.
(why the hell is this not the default in GZDoom tho???? It looks like shit!)
Thanks for sticking around while I rant about a subject I know pretty much next to nothing about, it really is just me fiddling and playing with random stuff .3.
